
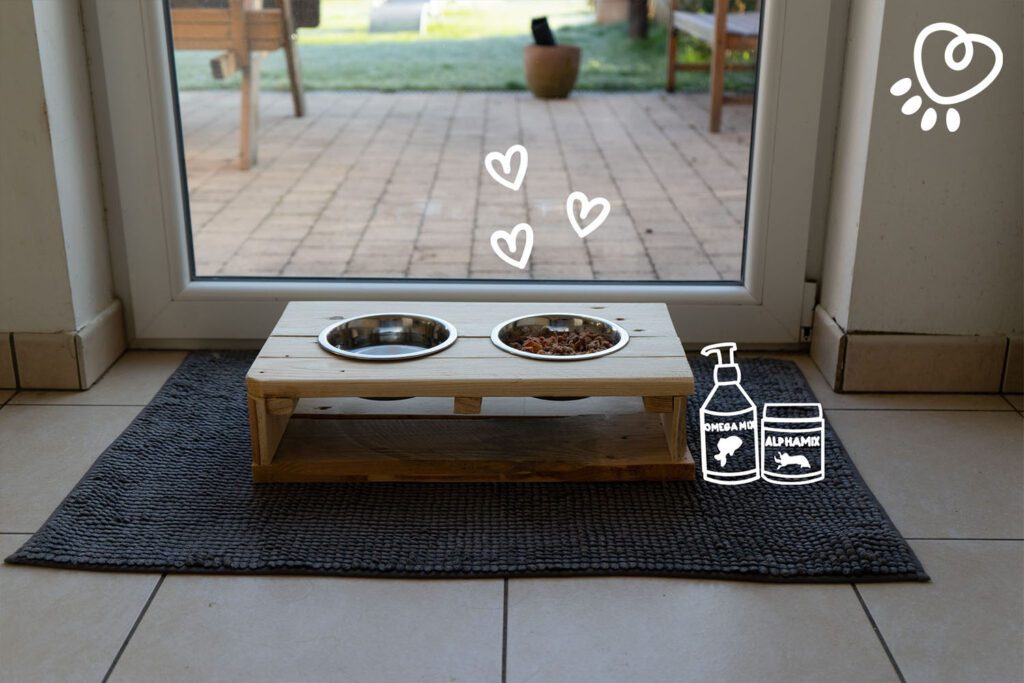
Measure the dimensions of your cushion

Euro pallets with a thickness of 2 cm are preferable to ensure a robust basket


Using sandpaper, sand down your boards to remove splinters, which could injure your dog.
Tip: 80 or 120 grit is sufficient
For the long sides of the basket: draw a mark 96 cm along your long boards
For the short sides of the basket: draw a mark 56 cm along your short boards
In total, you should have 4 long boards for the long sides, and 4 short boards for the short sides

For the square batten: Take 2 pieces of 4 x 4 cm batten, draw a mark at 25 cm and cut them with a jigsaw or hand saw. Then cut them on a diagonal to get 4 identical battens


Note: Battens cut in 2 on a diagonal are used to reinforce the structure and assemble the two parts of the basket, while creating a ventilation space.
Draw a recess onto one of the long pieces, which you will cut out with a hand saw or jigsaw.

The long pieces go on the outside and the short pieces on the inside of the structure


Repeat step 6 to produce two frames, which we will stack one on top of the other.
Cut 4 battens to a length of 56 cm (these battens must be the same length as the boards used for the shorter sides of the basket)

Once cut, place 3 battens into the bottom of your frame: 1 at each end and one at the centre of the frame.

Then secure the battens to the frame using screws

You now have the base for your bed frame.
Take the 5 boards measuring 9.5 cm wide and draw a mark at 92 cm. Saw them to this length.
Then place the boards directly onto the bed frame rails and secure them directly to the battens using screws.

Place 4 boards with a thickness of 1 cm on the lower part of what will be the basket to create the ventilation area.

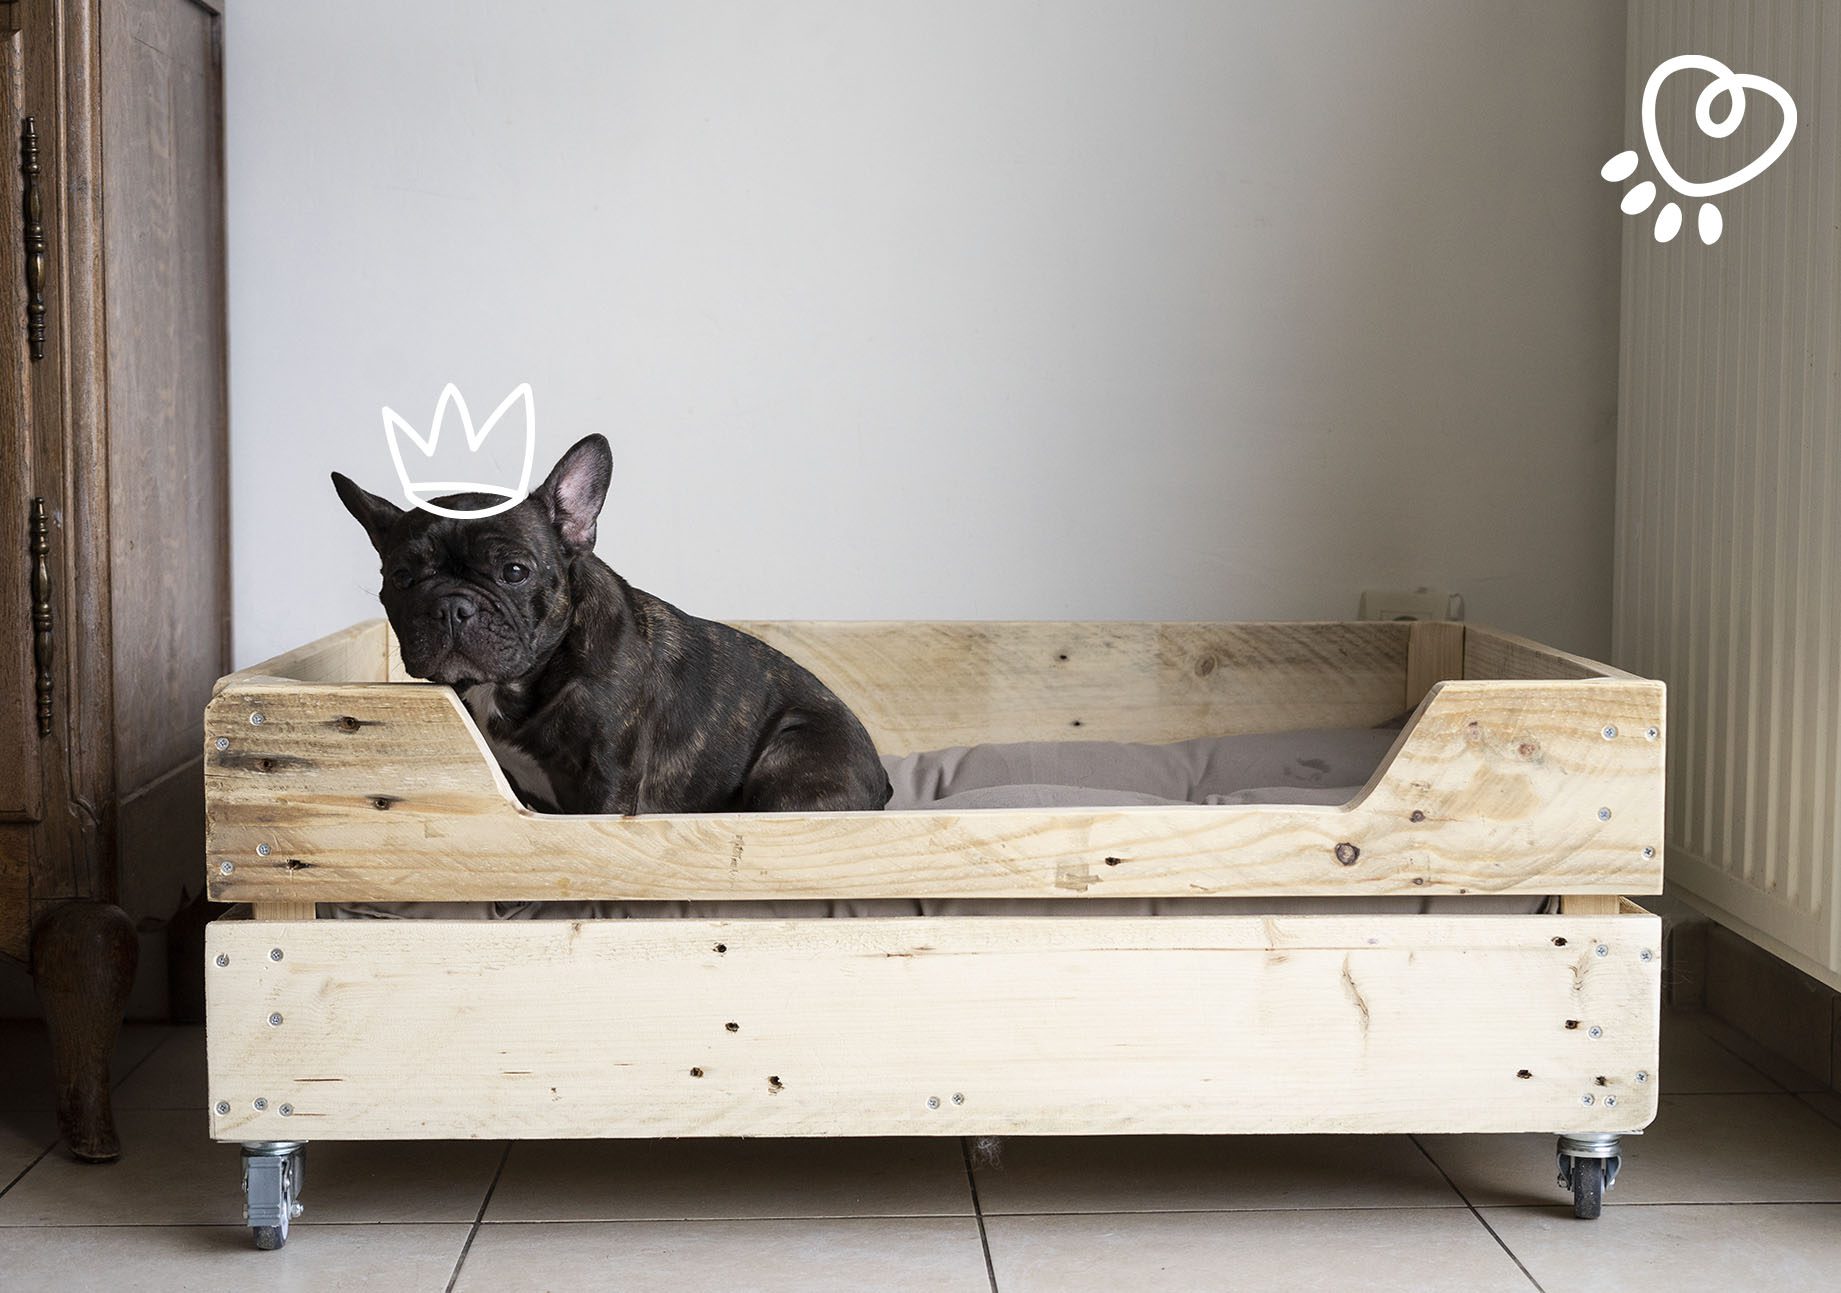
Place a batten that has been cut in two at each corner of your structure and screw these directly to the two framework pieces of your basket. In total, we have used eight screws per corner batten.


We have chosen to add casters in order that the basket can be moved around more easily, given the weight in it. In this example, there are two normal casters and two self-locking casters.

For a better finish, we have lightly sanded the basket. An 80 or 120 grit sandpaper is sufficient.

Are you ready to do it yourself? Send us yours by e-mail: [email protected]
Votre navigateur est obsolète!
Mettez à jour votre navigateur pour afficher correctement ce site Web. Download Google Chrome
